I
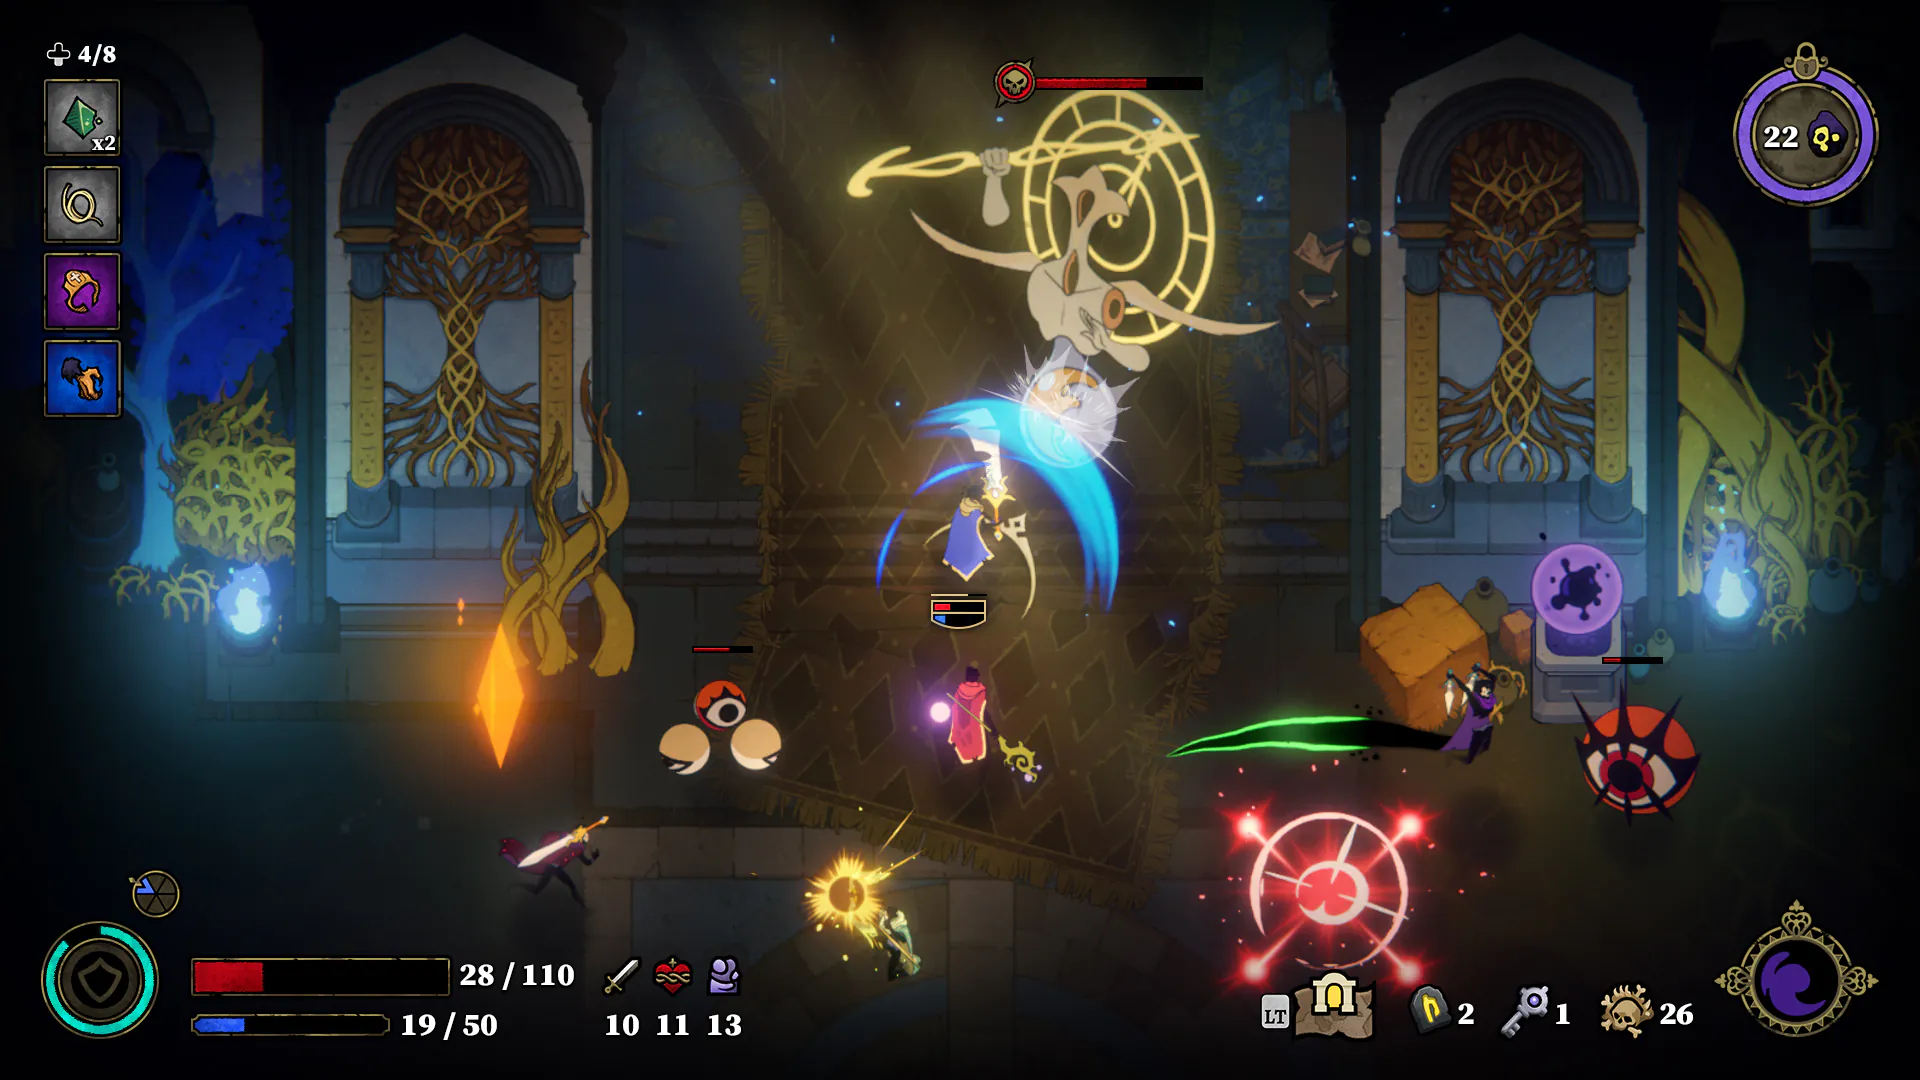
Article
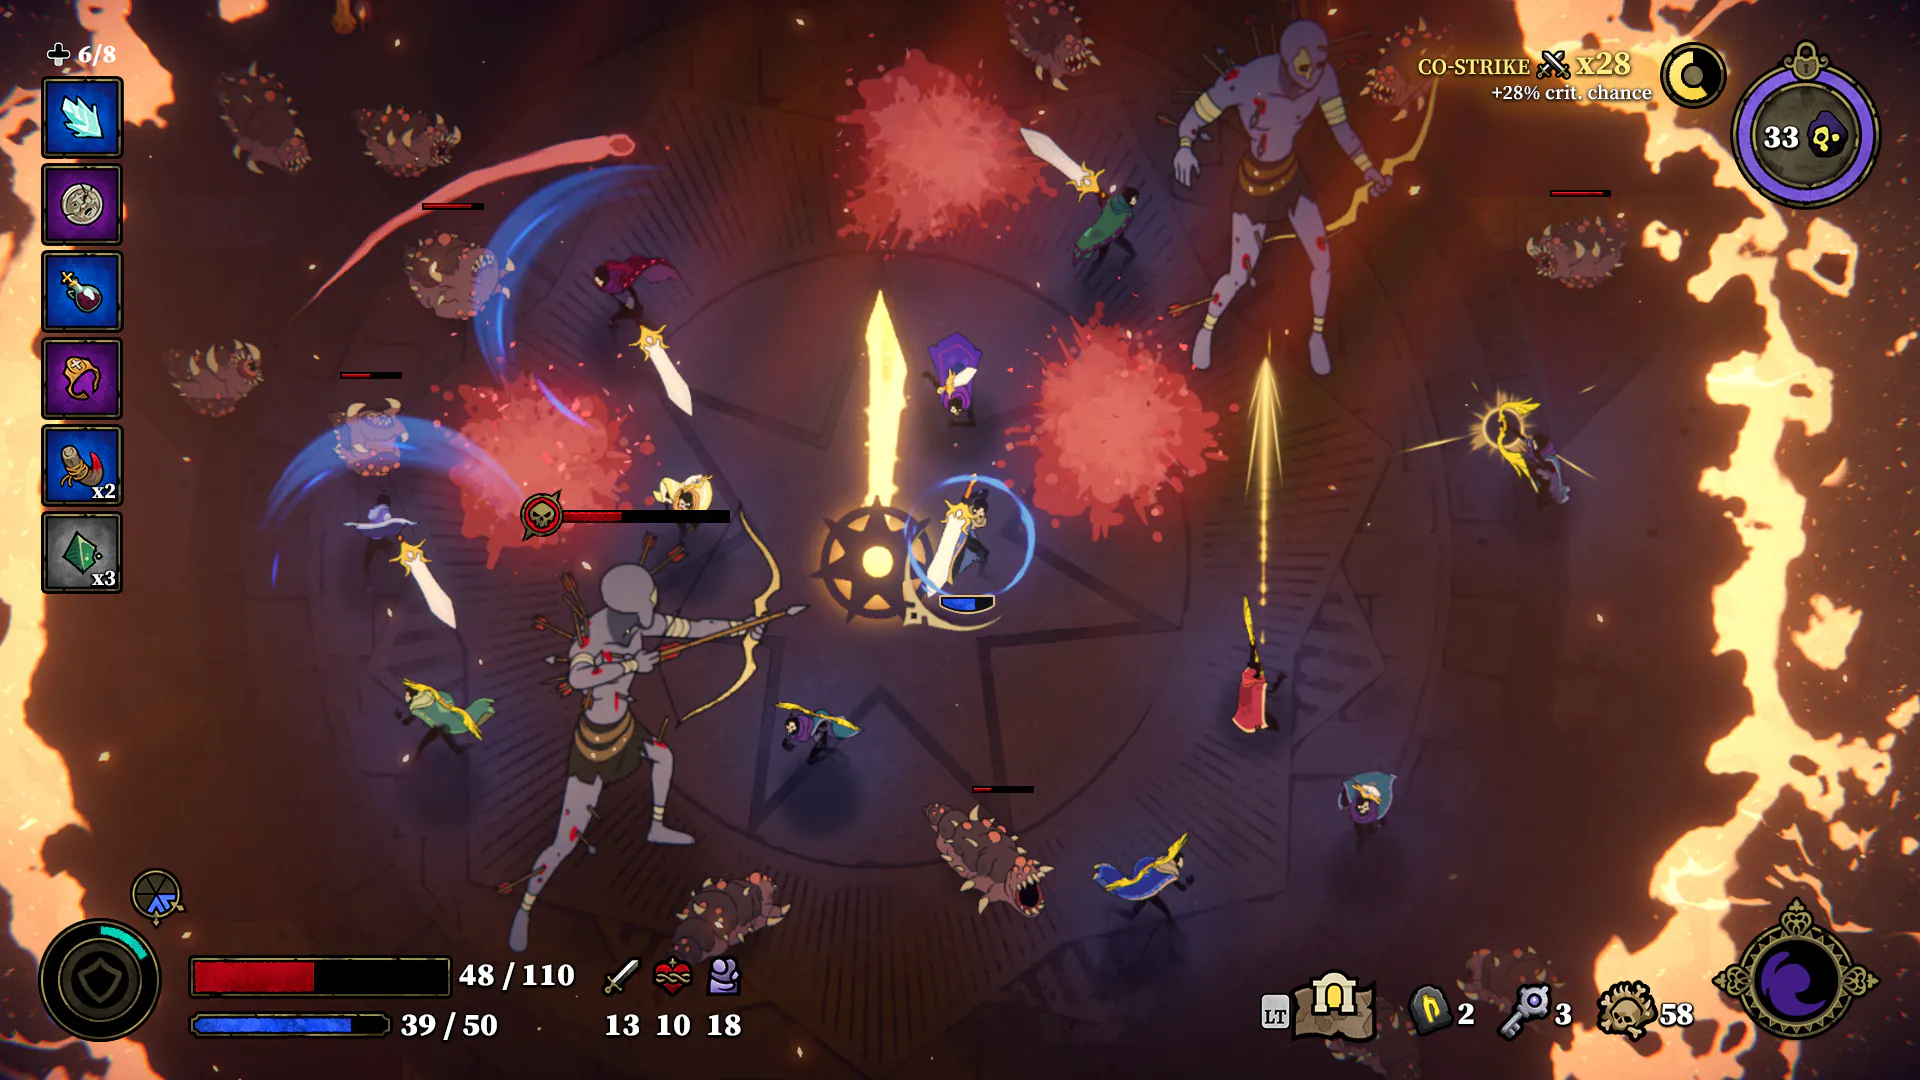
Teleportation Boss Relic Farming
Use Teleportation Stones to collect multiple Boss Relics before the final fight.
→
II
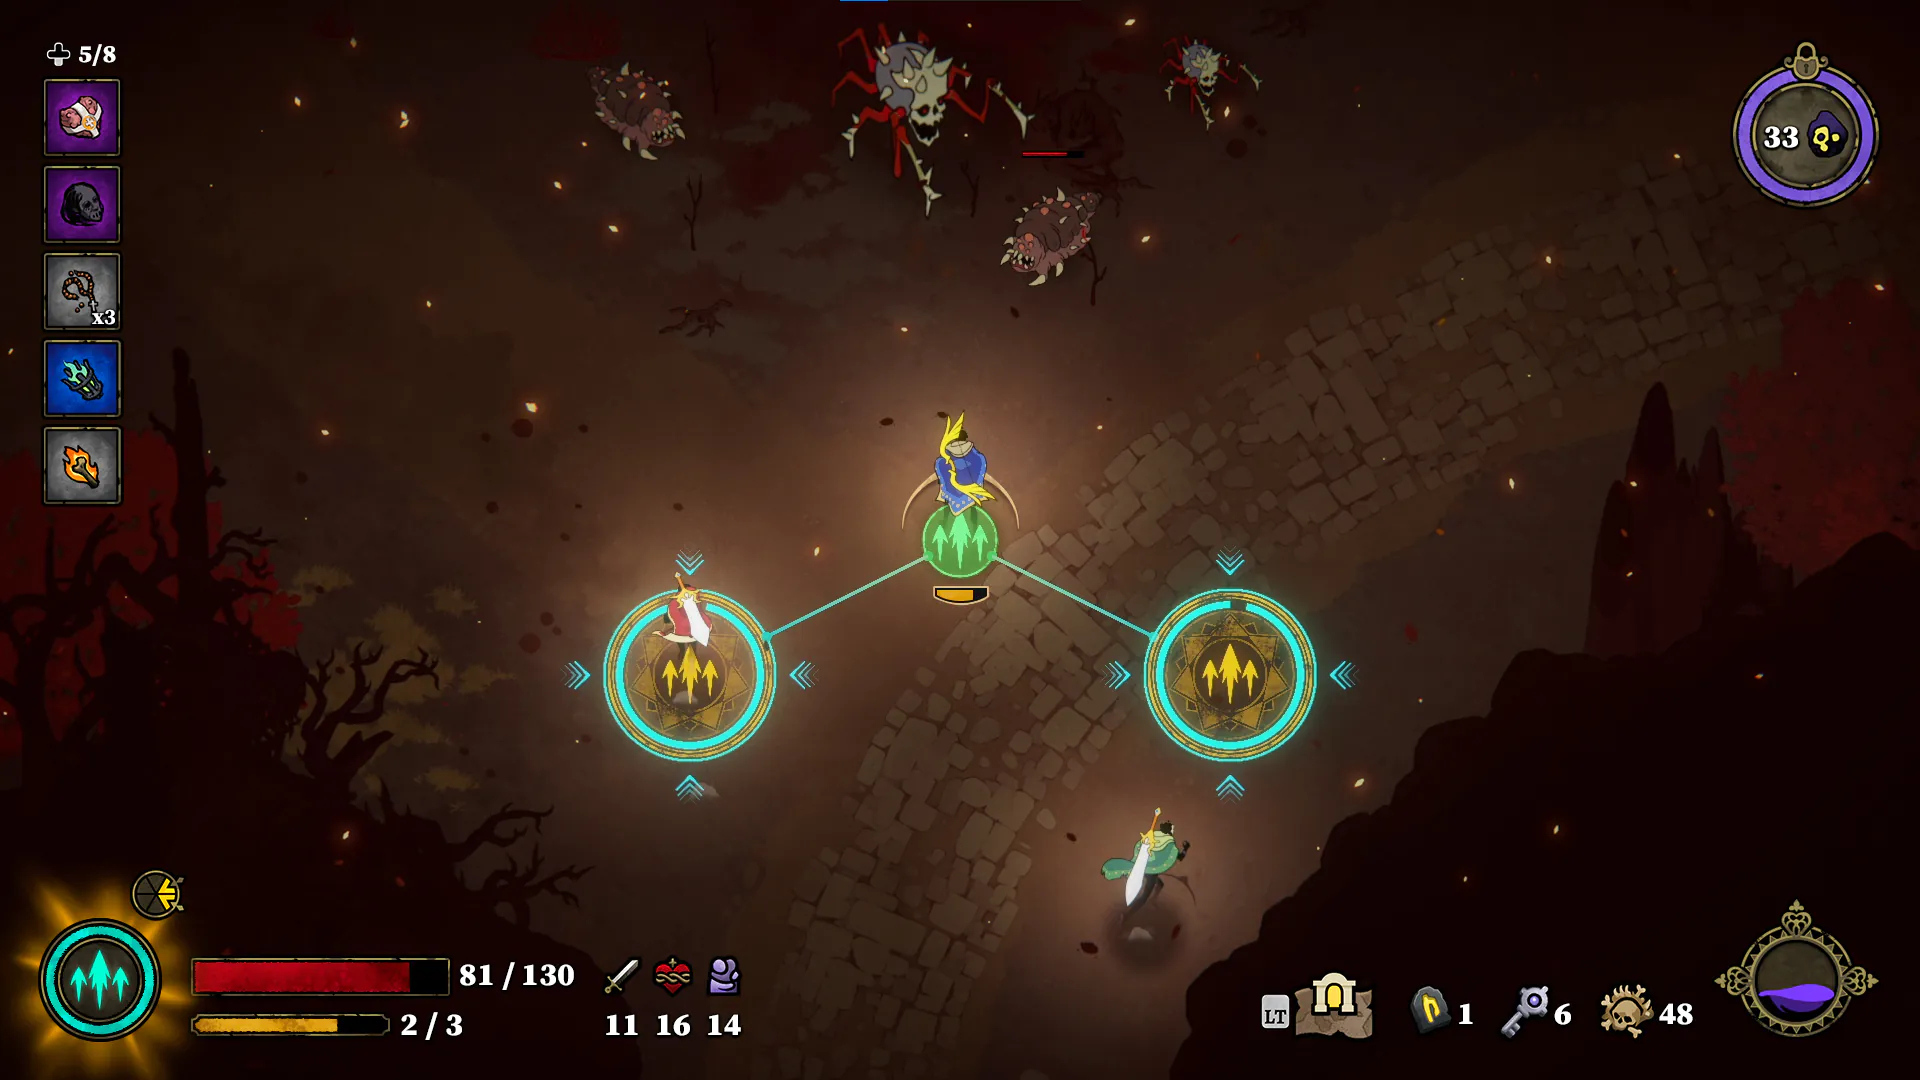
Article
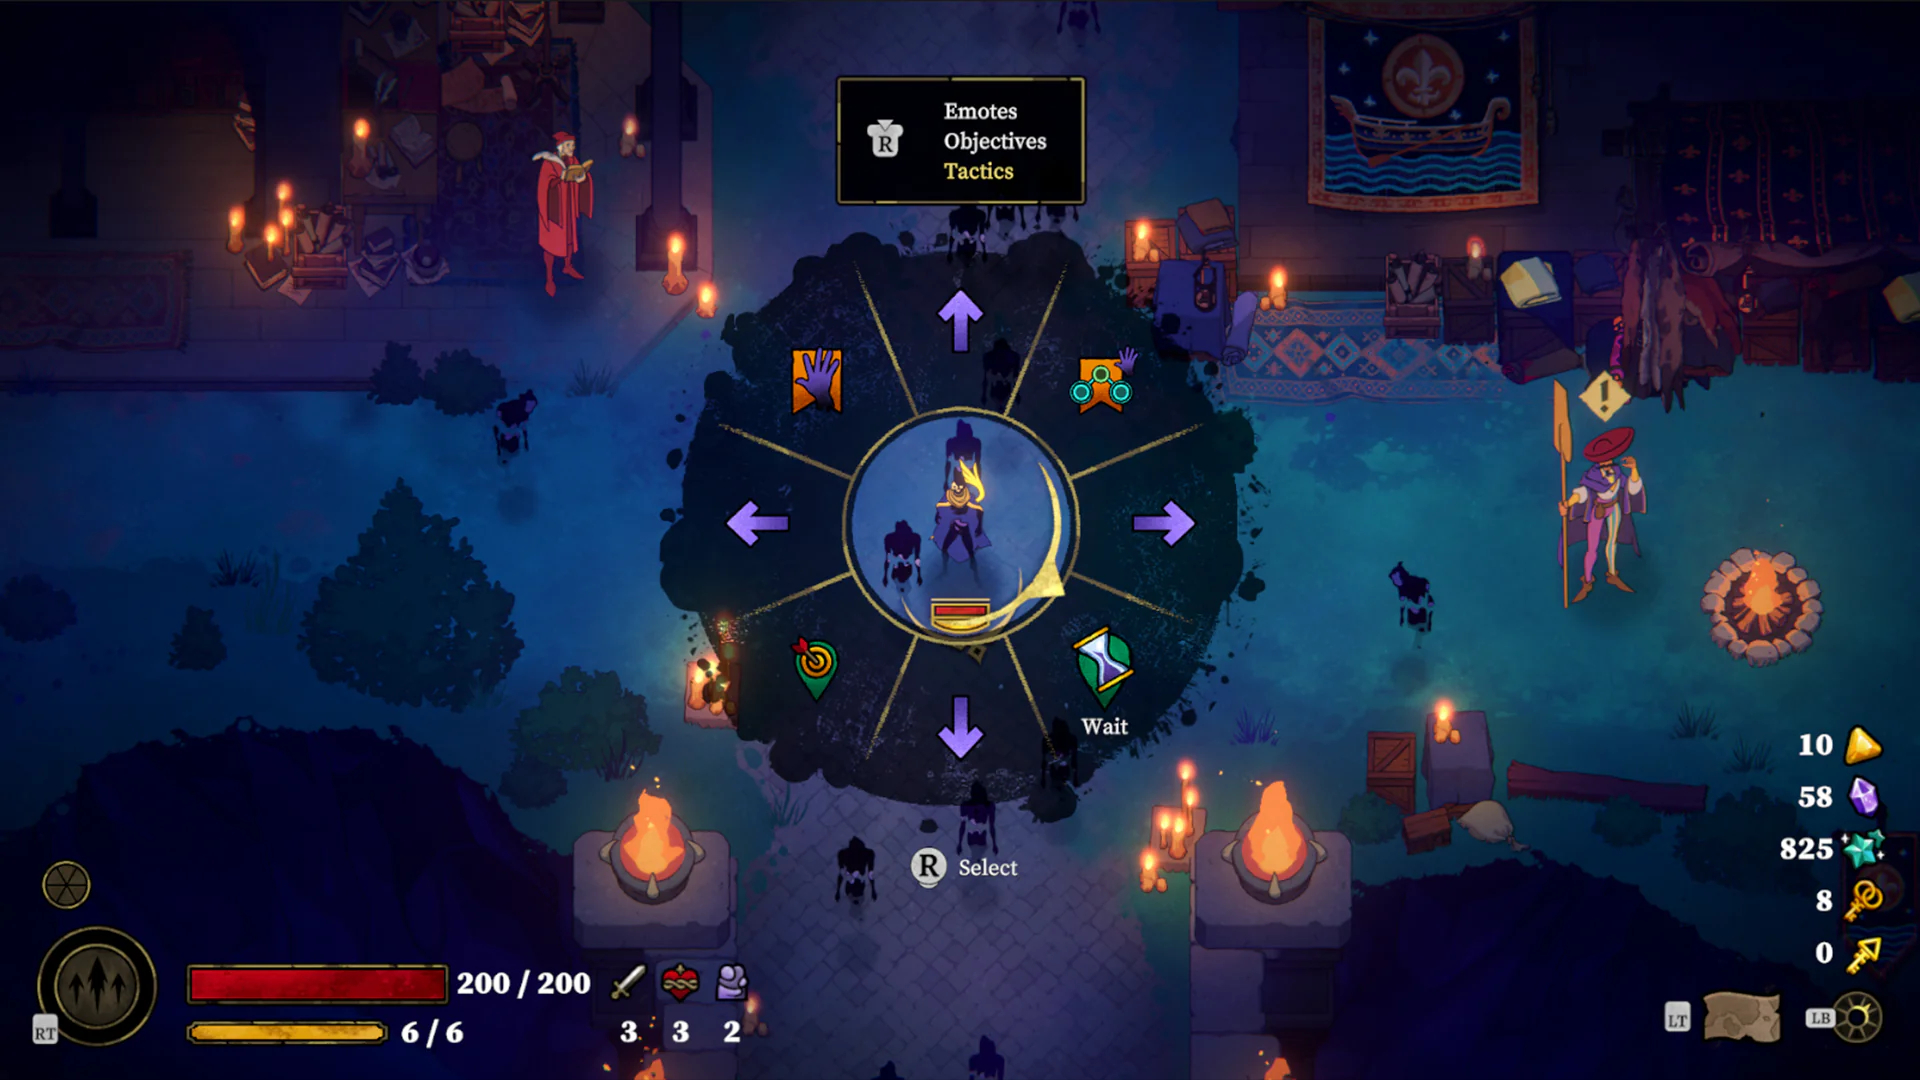
Bone Shrine Healing Strategy
Master the 12 Bone Shrines per world — when to heal, group tactics, and Bold Revolt.
→
III
Article
Dust Farming Strategy
Hit frequency over kills — tag enemies and use Renewal of Dust to max stats.
→
IV
Article
Feat Level Priority Guide
Hit Lv.6 and Lv.8 ASAP for weapon upgrades and Wish for Relics.
→
V

Article
Weapon Upgrade Build Advice
Stat priority for every weapon — Vitality, Attack, or Empathy.
→
VI
Article
Staff of Sloth Synergy Guide
Staff is the tempo controller — pair with Daggers, Sword, or Bow.
→
VII
Article
Daggers + Bow Burst Combo
Greedy Strikes into Volley of Arrows — the highest DPS combo.
→